
My pierced-relief carvings are called "pierced relief" for 2 reasons. The term, "pierced", refers to the wood being cut (pierced) through completely. There are negative spaces created with this style of carving. The term, "relief", refers to a flat or semi-flat piece of wood that is made to look dimensional.
I like to use Burls for my pierced relief carvings because they are full of character before the carving even begins. Burls are formed on trees due to some form of stress, usually an Agrobacteria. The stres causes the tree to send tons of sprouts to the same area, resulting in a very beautiful and unique piece of wood with interlocking grain. The piece of Burl listed displays a few areas of void, some bark inclusion and a bit of very unique lace in the dark areas of the Burl. Burls are so much more than simple boards that are bought from Home Depot! Burls have to be found and milled and cleaned up. It's so exciting to find a Burl on the side of a tree, way out in the woods. The hunt is just as exciting as the find. I never know what I'm going to find in a new Burl. When I cut into a Burl, it is sort of like finding a hidden treasure chest- You never really know what will be inside :)

The picture above is the beginning of the Owl carving. This Sugar Maple Burl has been milled into a slab at this point.
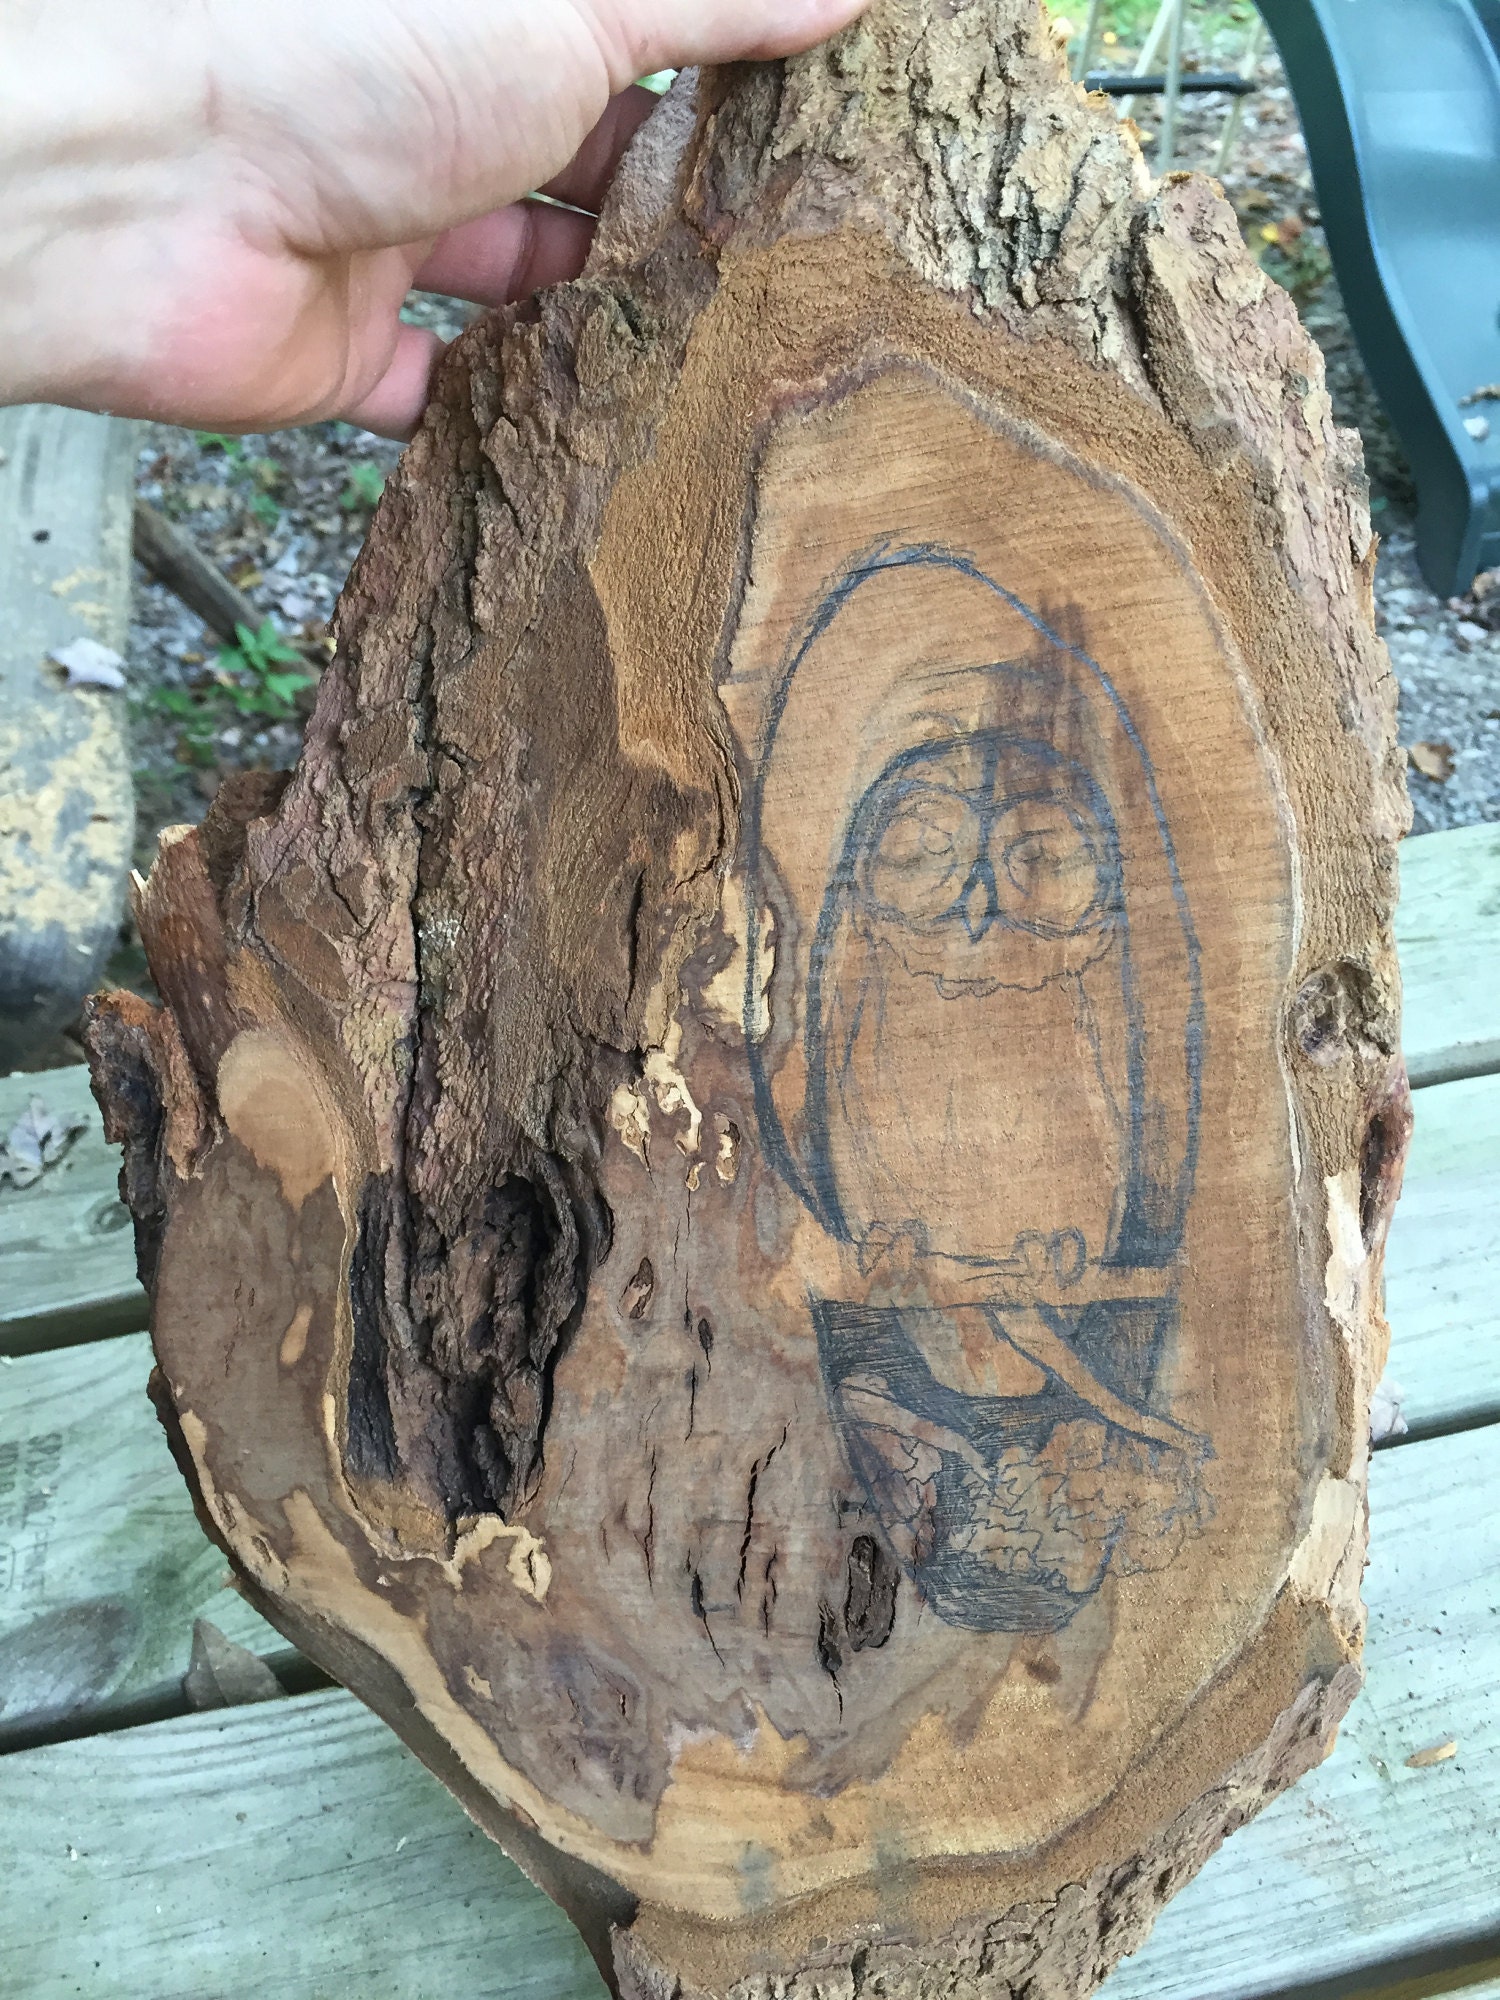
Next, I like to assess the slab and do a little pencil work...
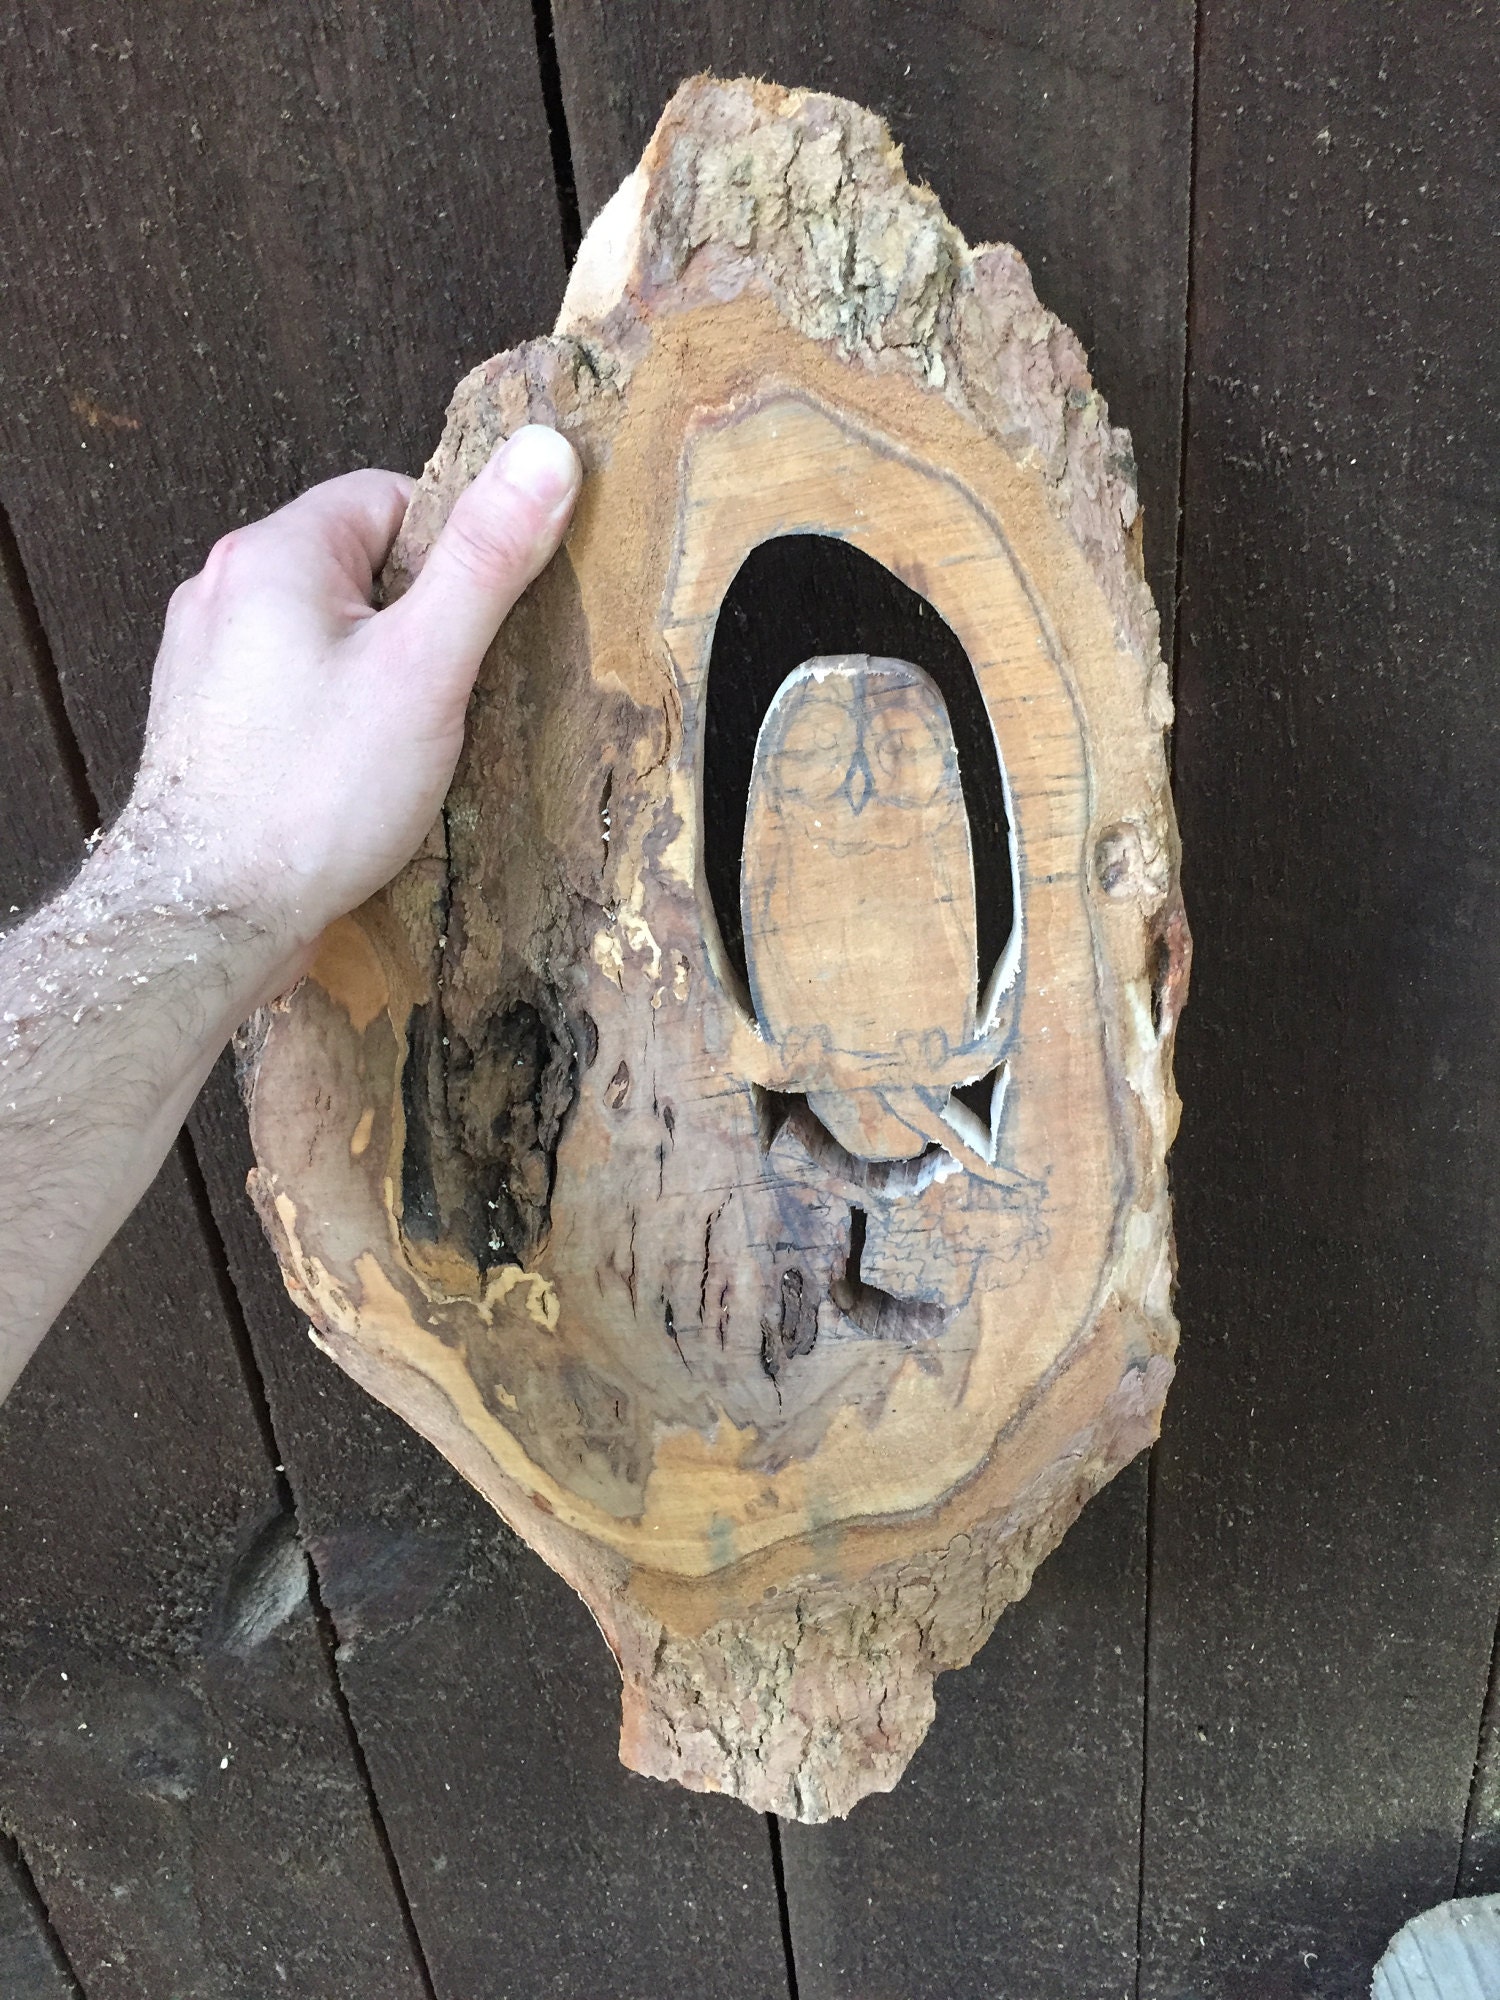
Once I've decided the overall compositon of the piece, I go in with a jigsaw and created the negative spaces around the Owl and the branches. It starts to get fun after this :)

The owl and branches are completely shaped at this point. A bit of detailing has creeped in. This is the most tedious and time-consuming aspect of this style of carving. It's so fun to watch the subject begin to come to life in my hands.
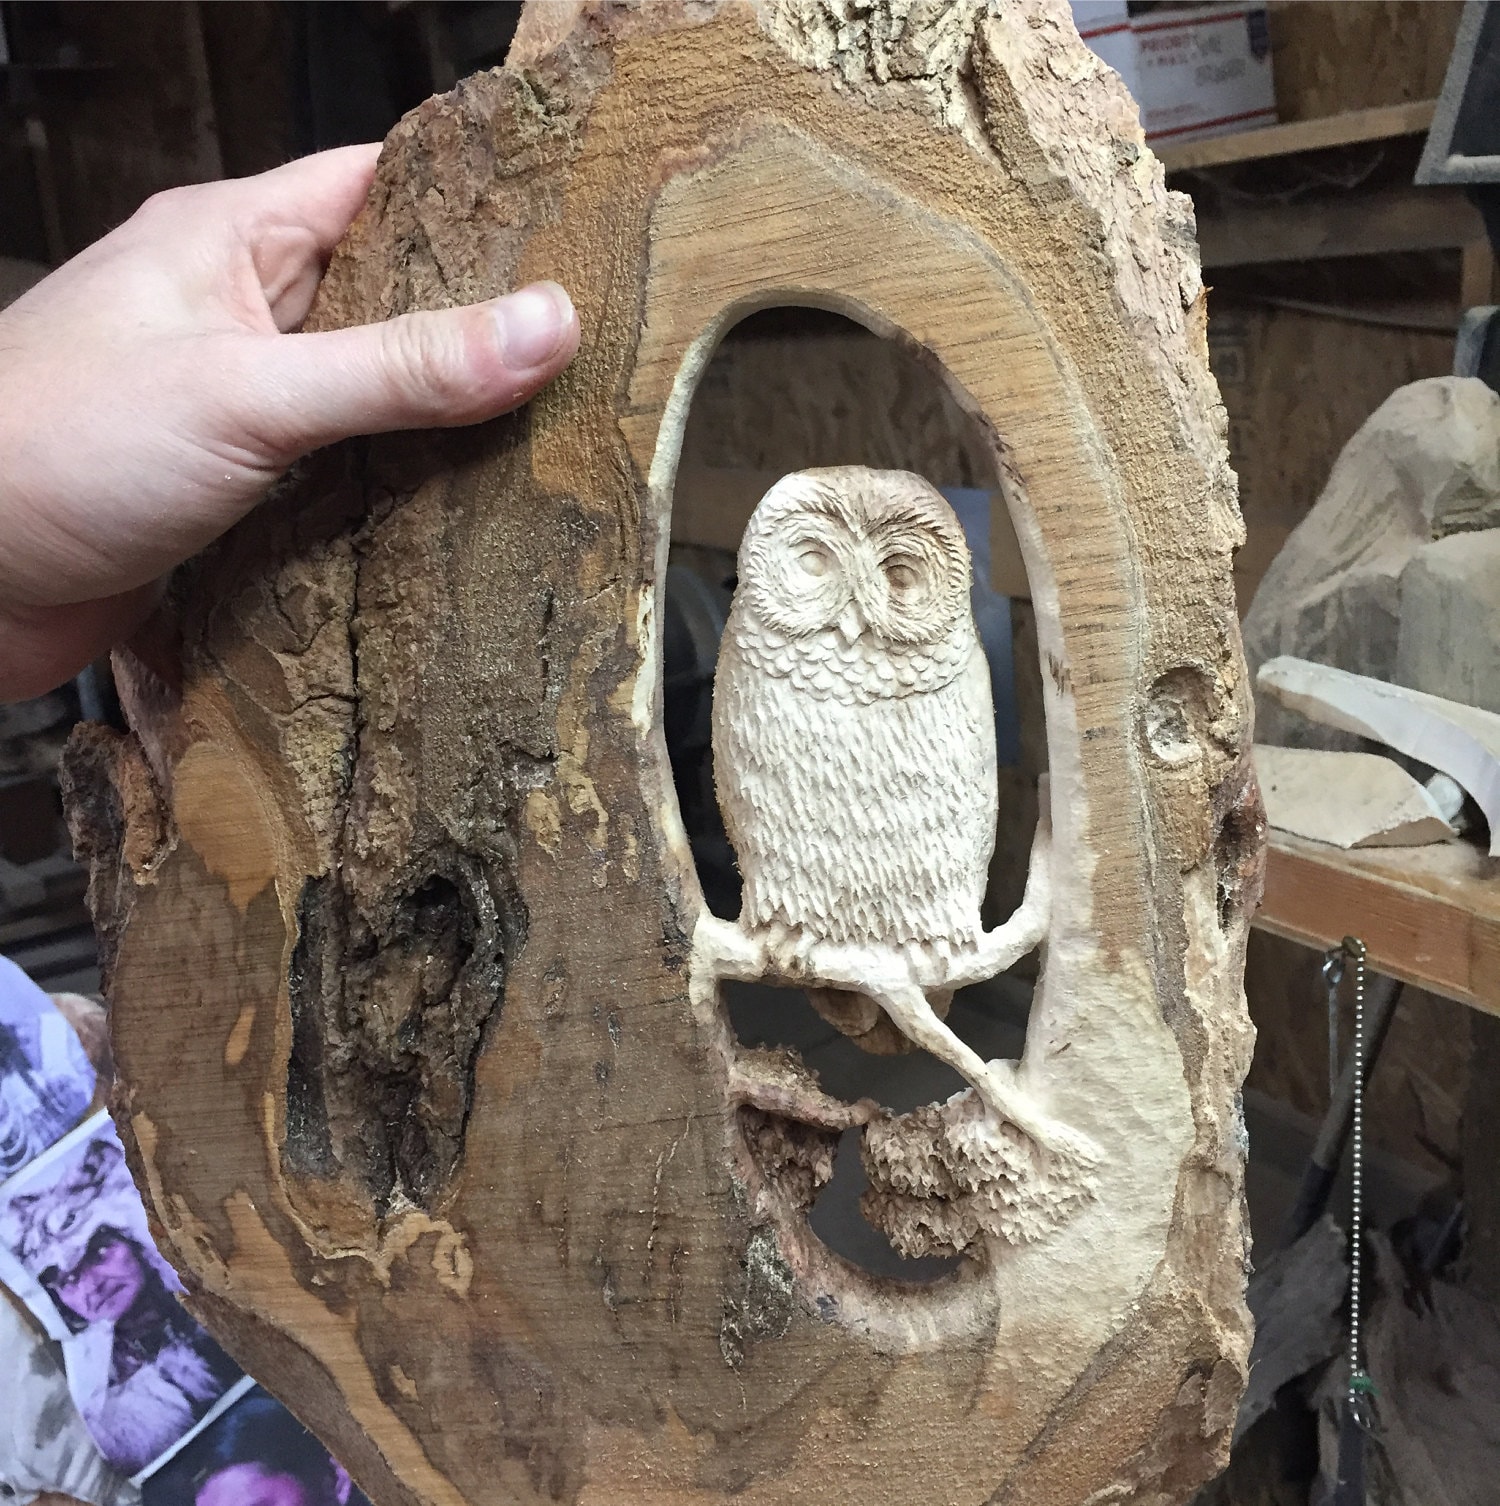
Just about all of the detailing is complete now. All that is left is to sand the entire piece and spray finish.
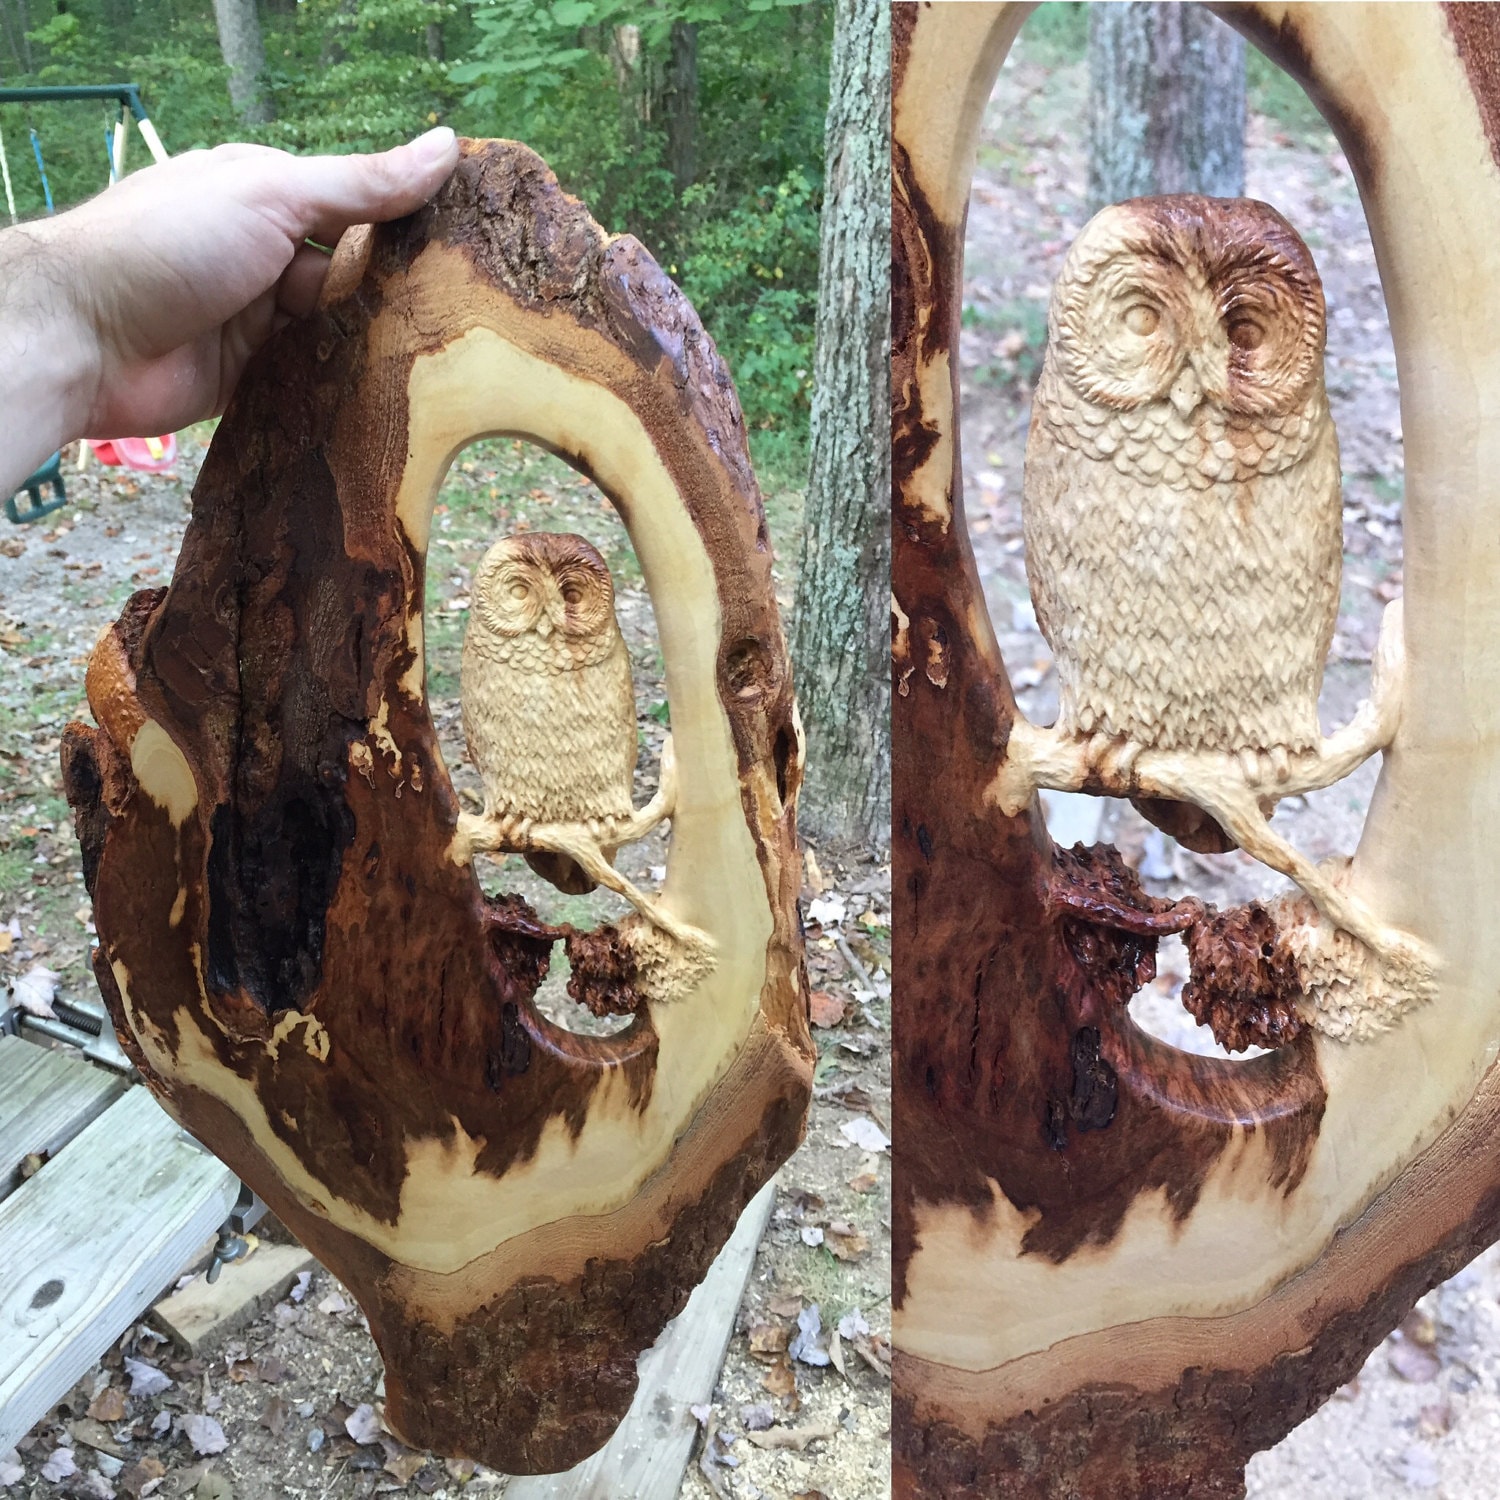
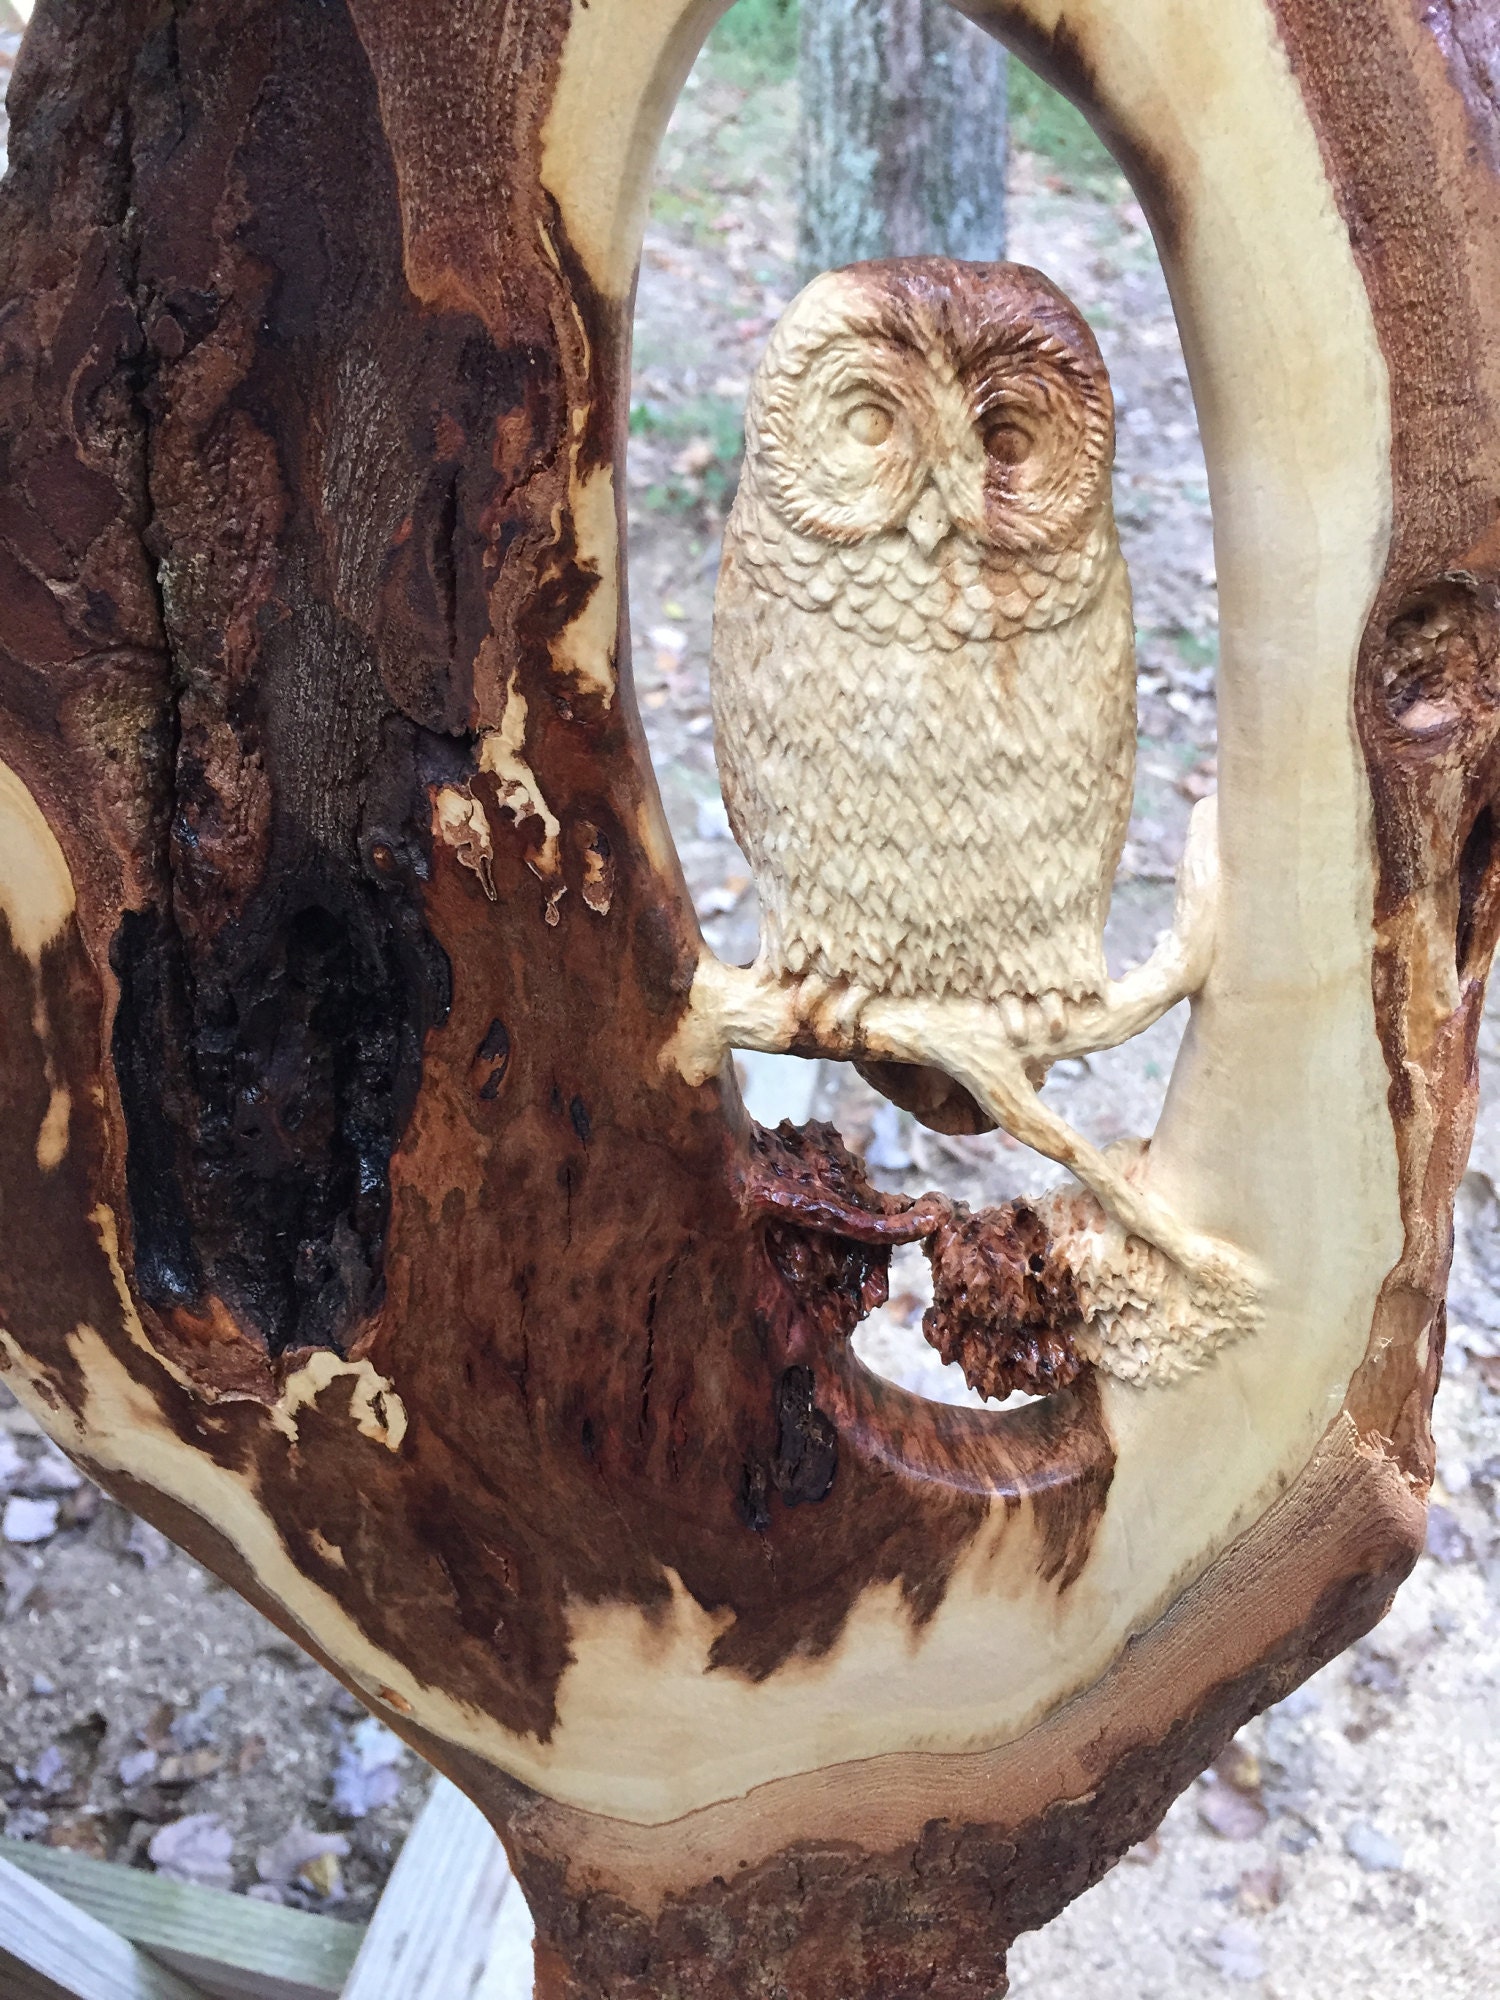
Here is the completed carving! Hooray, I finally made it :)
I carve using a Foredom rotary hand tool. It is sort of like a dentist's tool. A Dremel is quite similar, as well. Most folks are familiar with Dremel tools, but not so much with Foredoms. Foredoms are much more comfortable to use, in my opinion. I primarily use many different styles of fluted, carbide burrs to do all of my shaping. I like to use radial 3M disks to help me clean up the rough carving. At the end, I sand to around 180 and spray a Satin polyurethane finish. The phrase, "The devil is in the details" certainly applies to this style of carving. It's pretty simple to create a rough shape, but it takes hours-days to really bring the sculpture to life. I am very grateful to be able to do this sort of work every single day :)